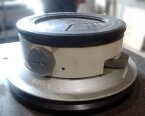
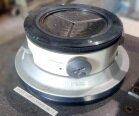
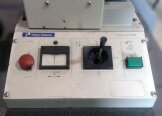
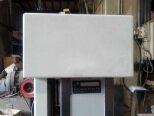
Used TAYLOR HOBSON TalyRond 250 #9238187 for sale
URL successfully copied!
Tap to zoom


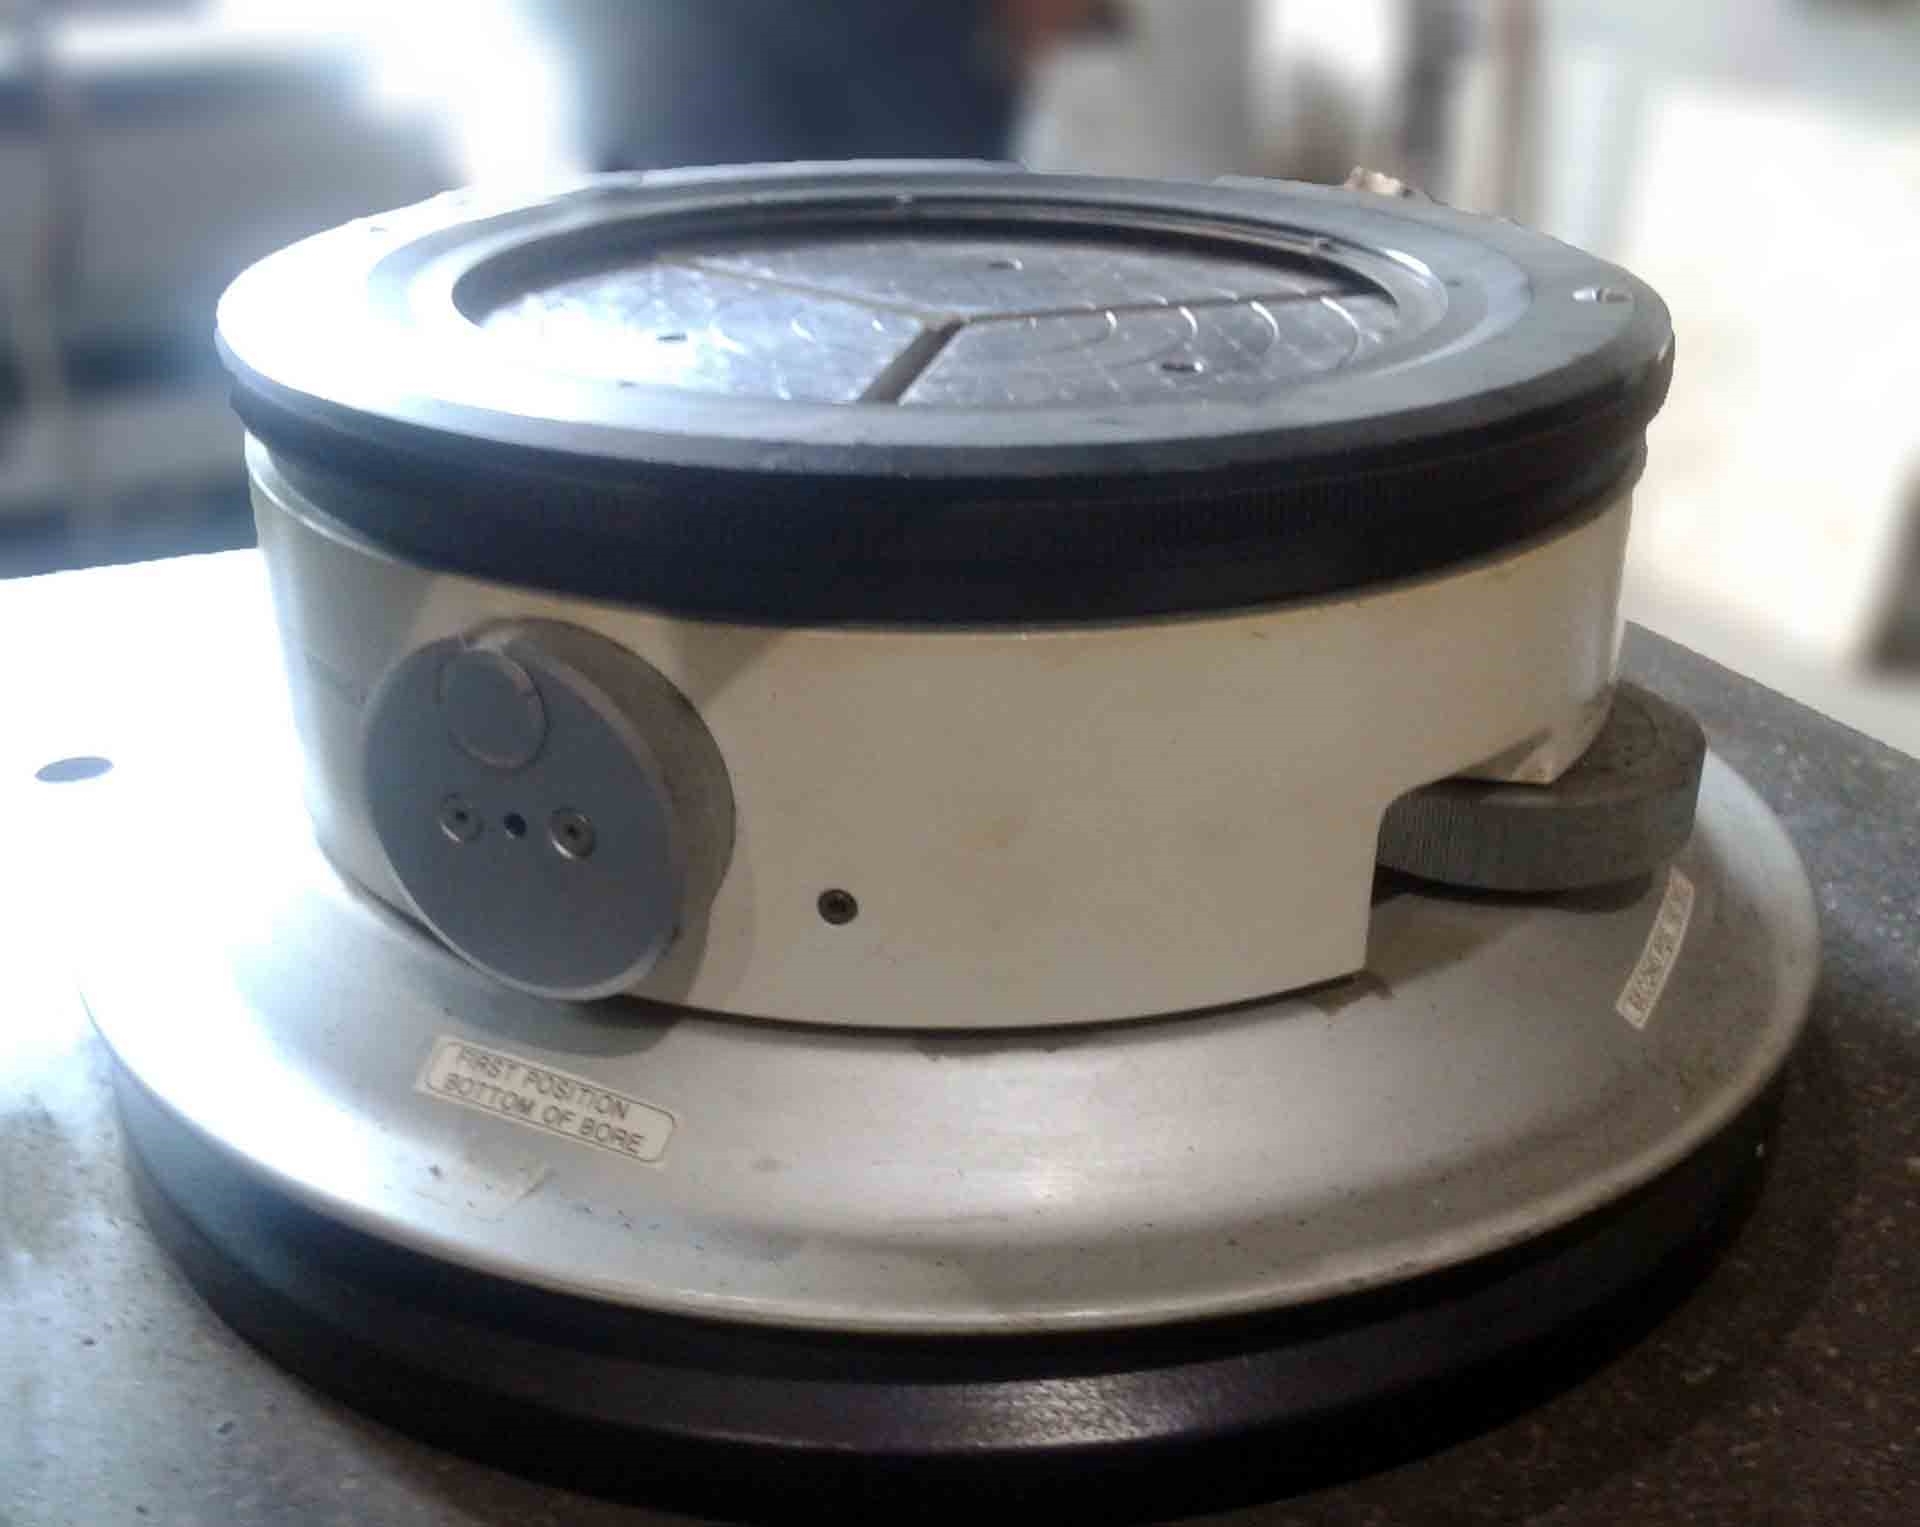

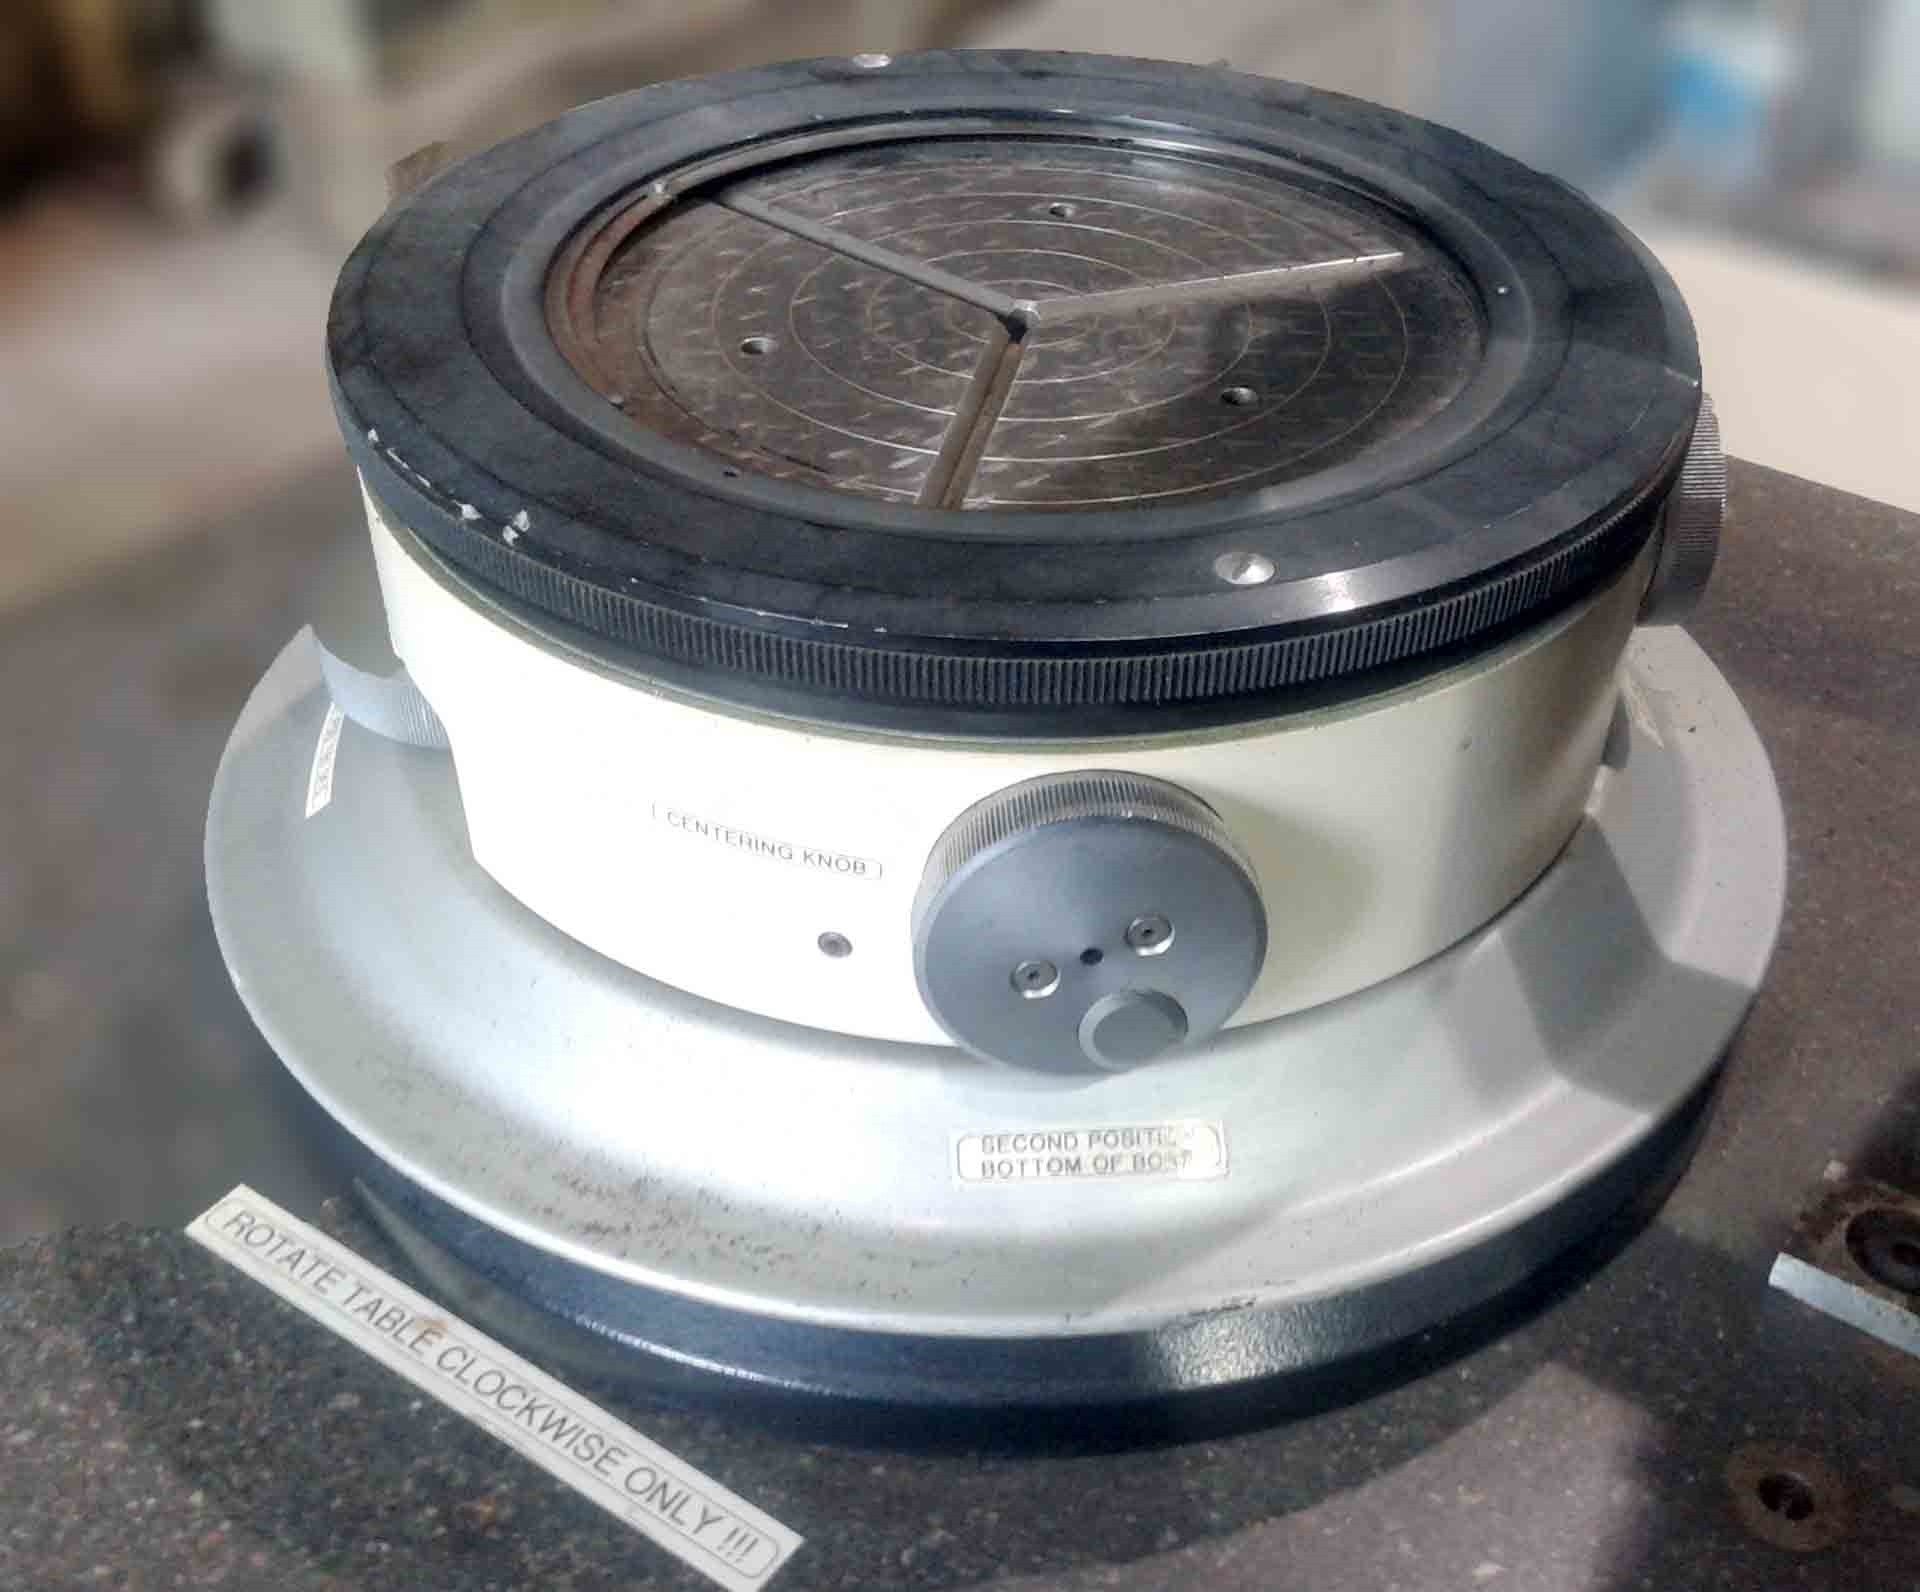

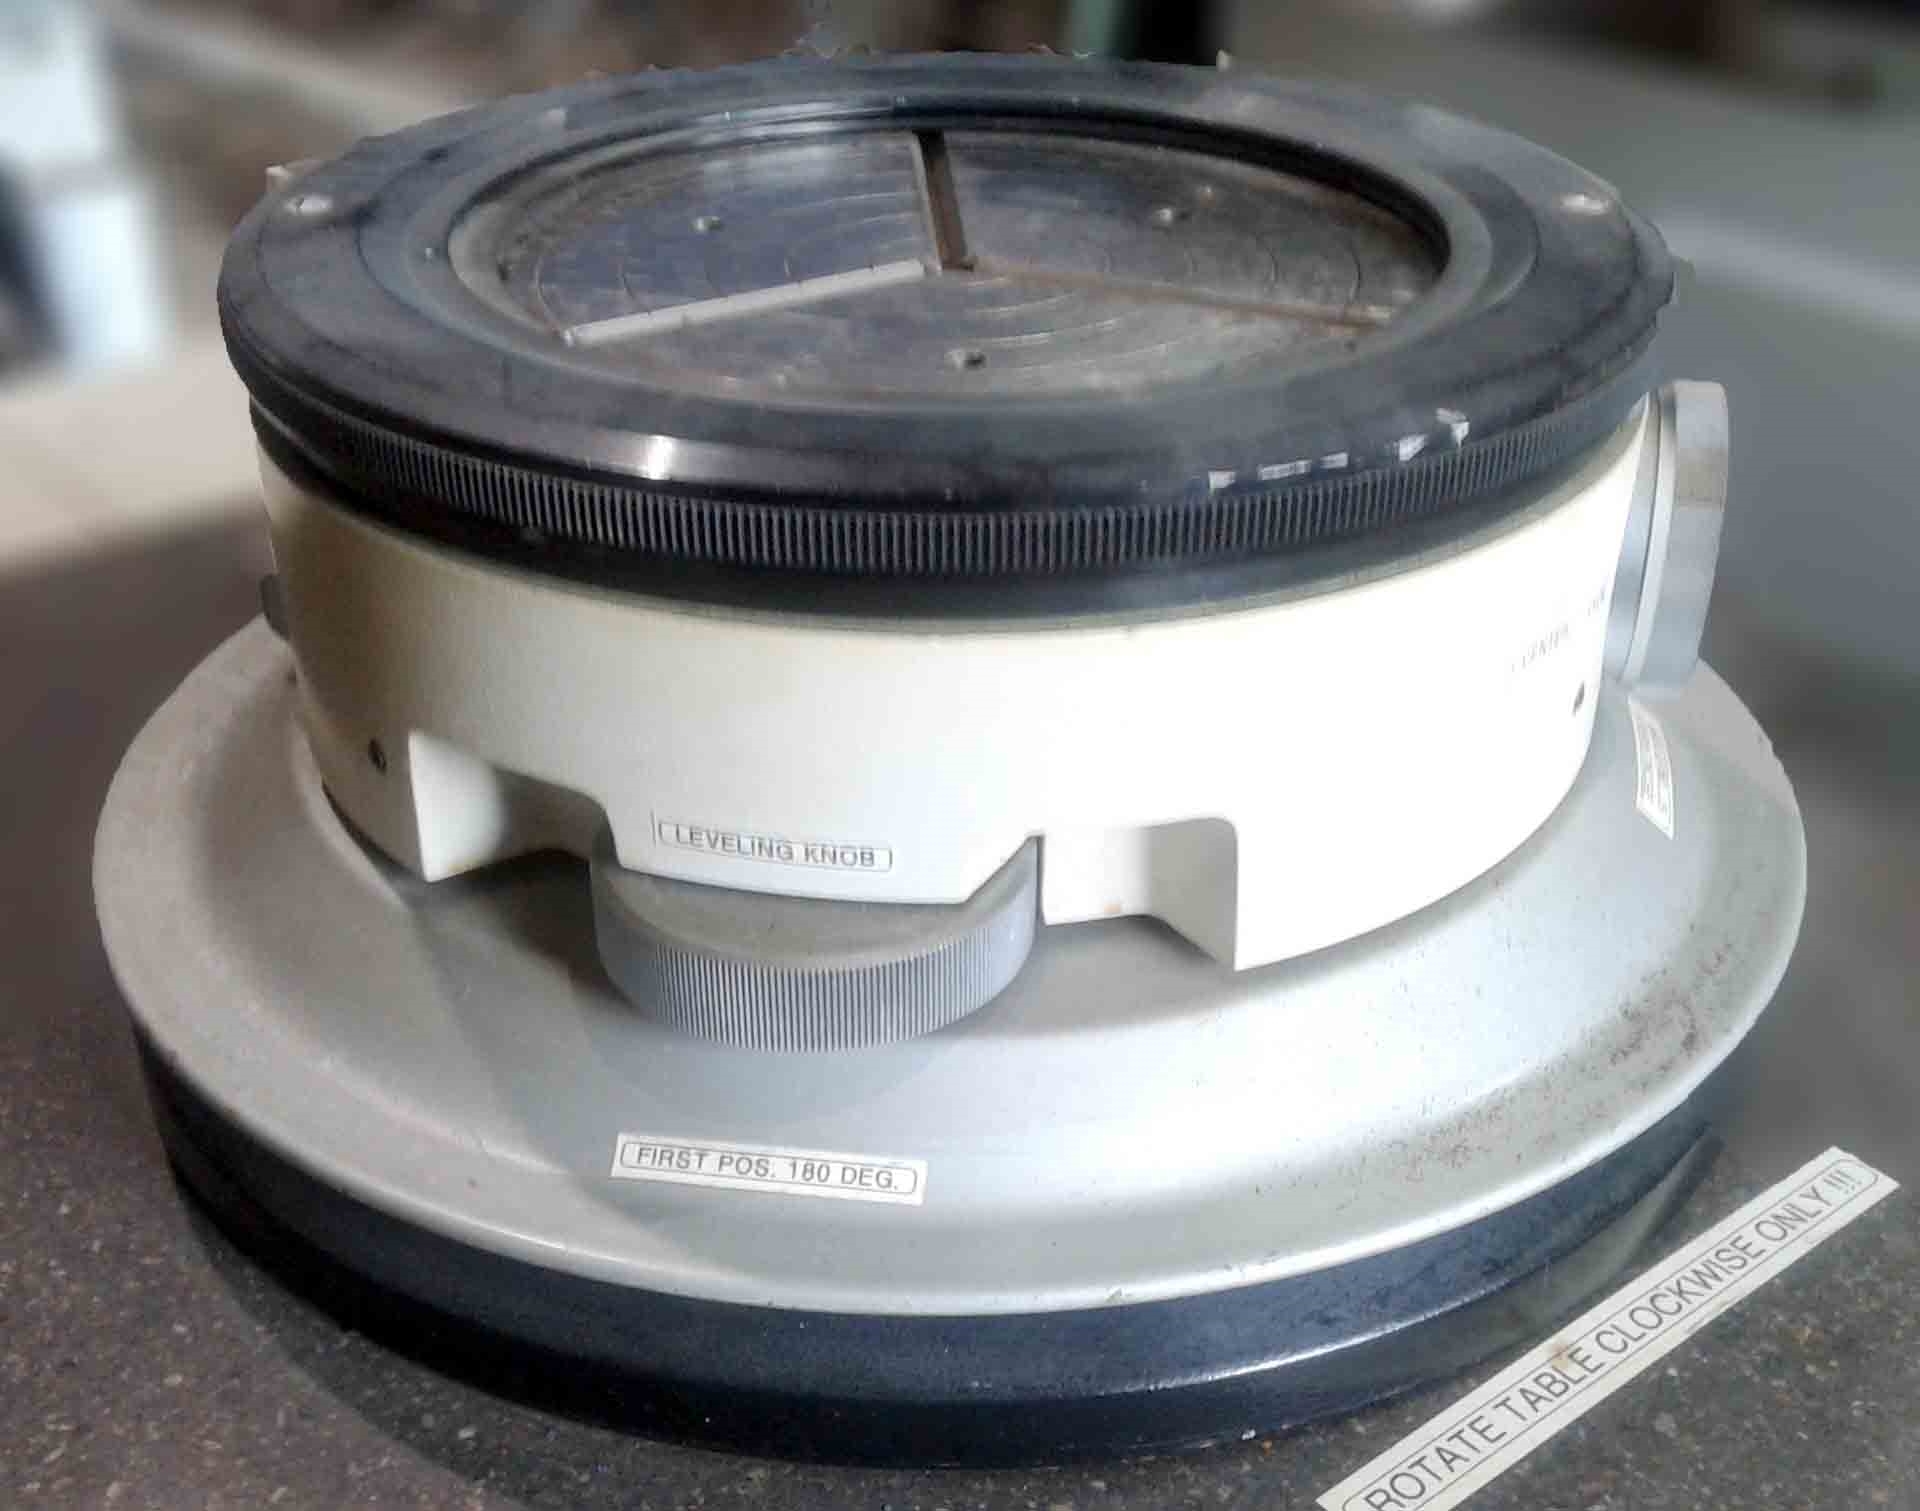

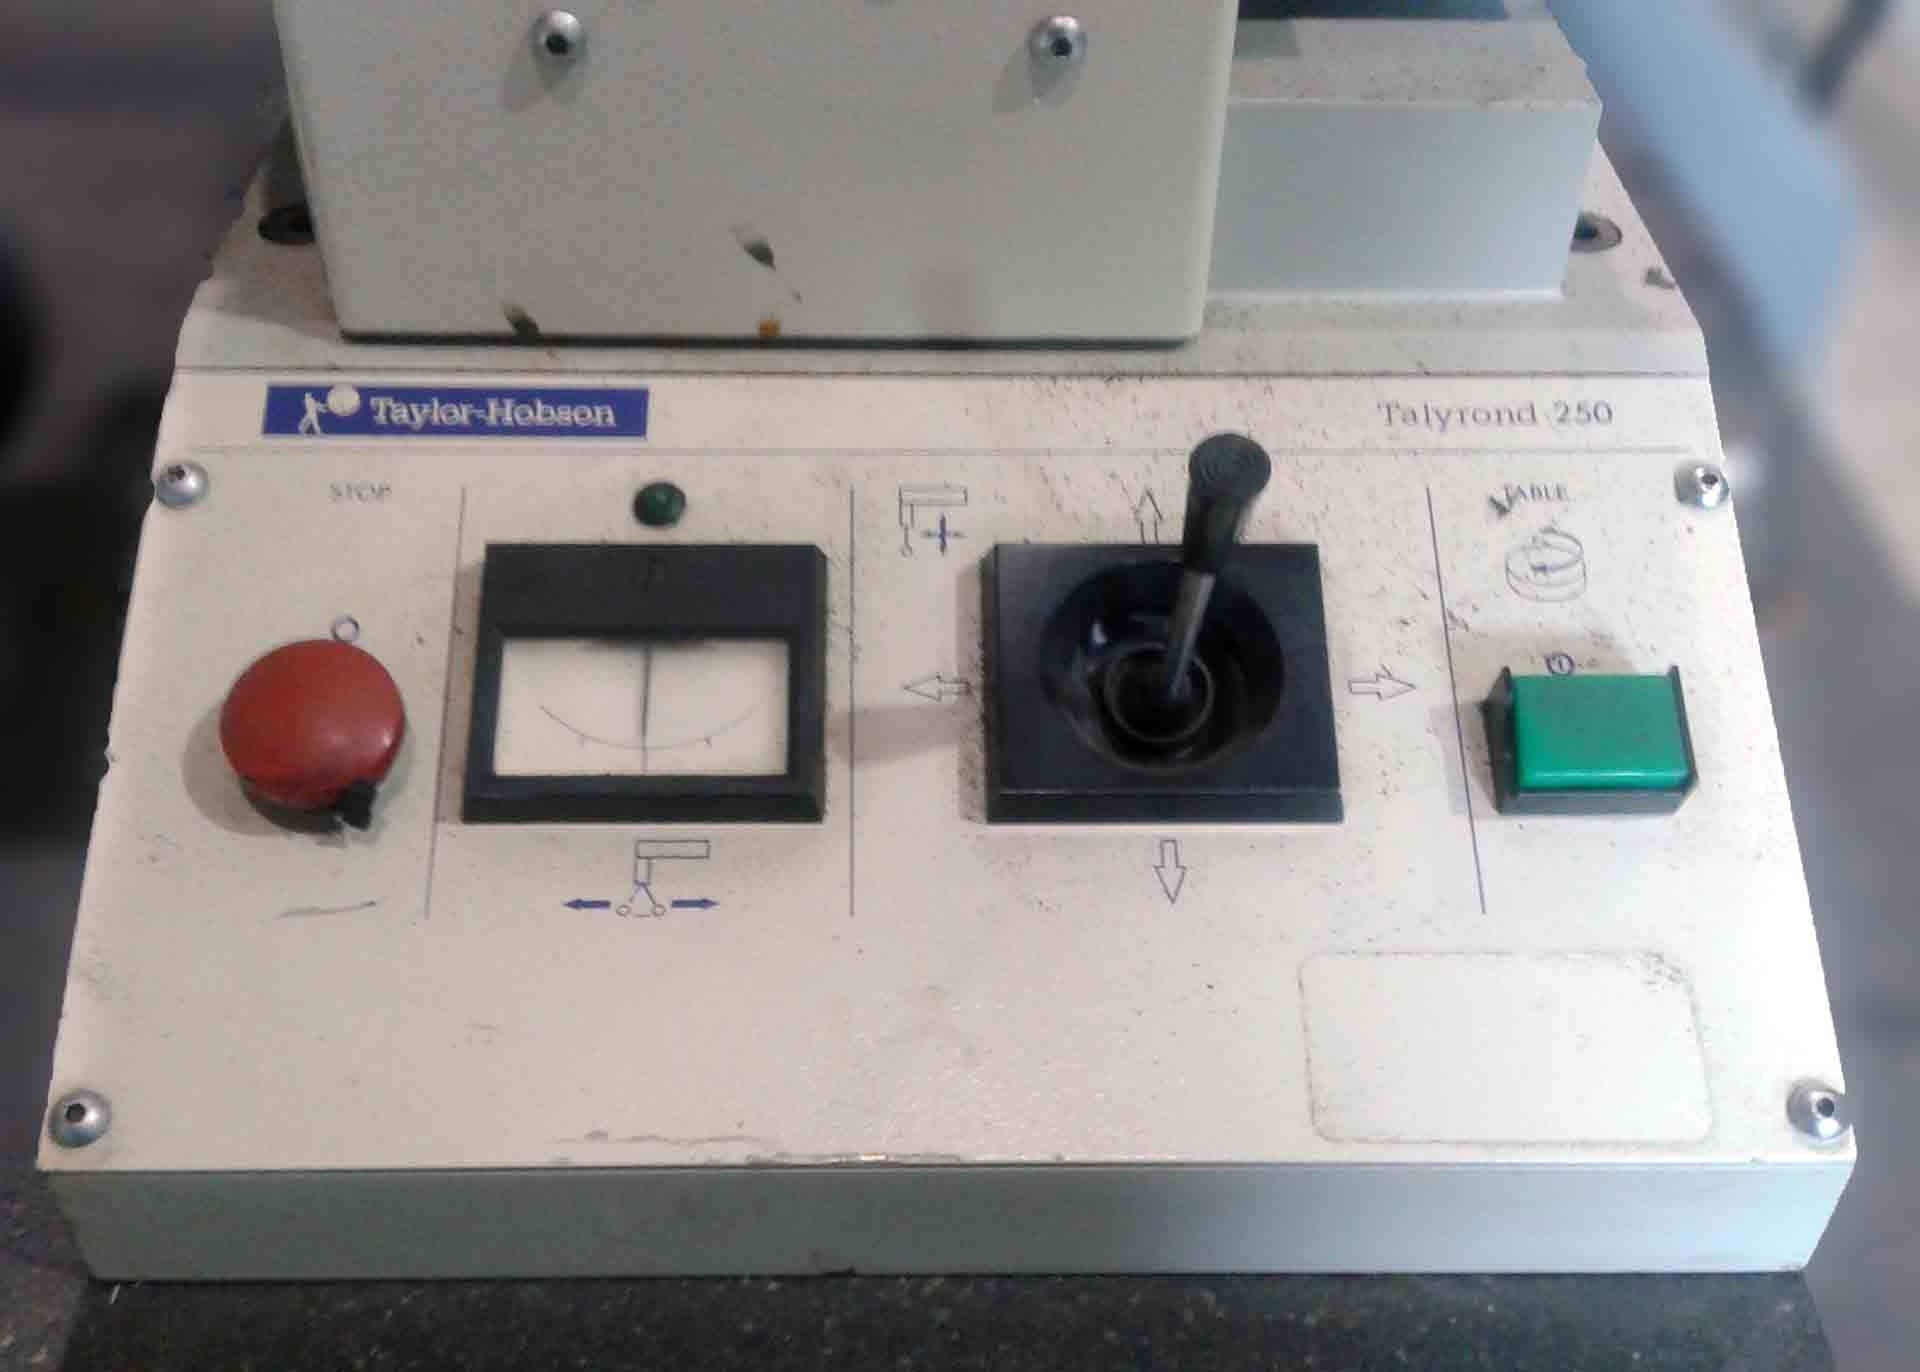


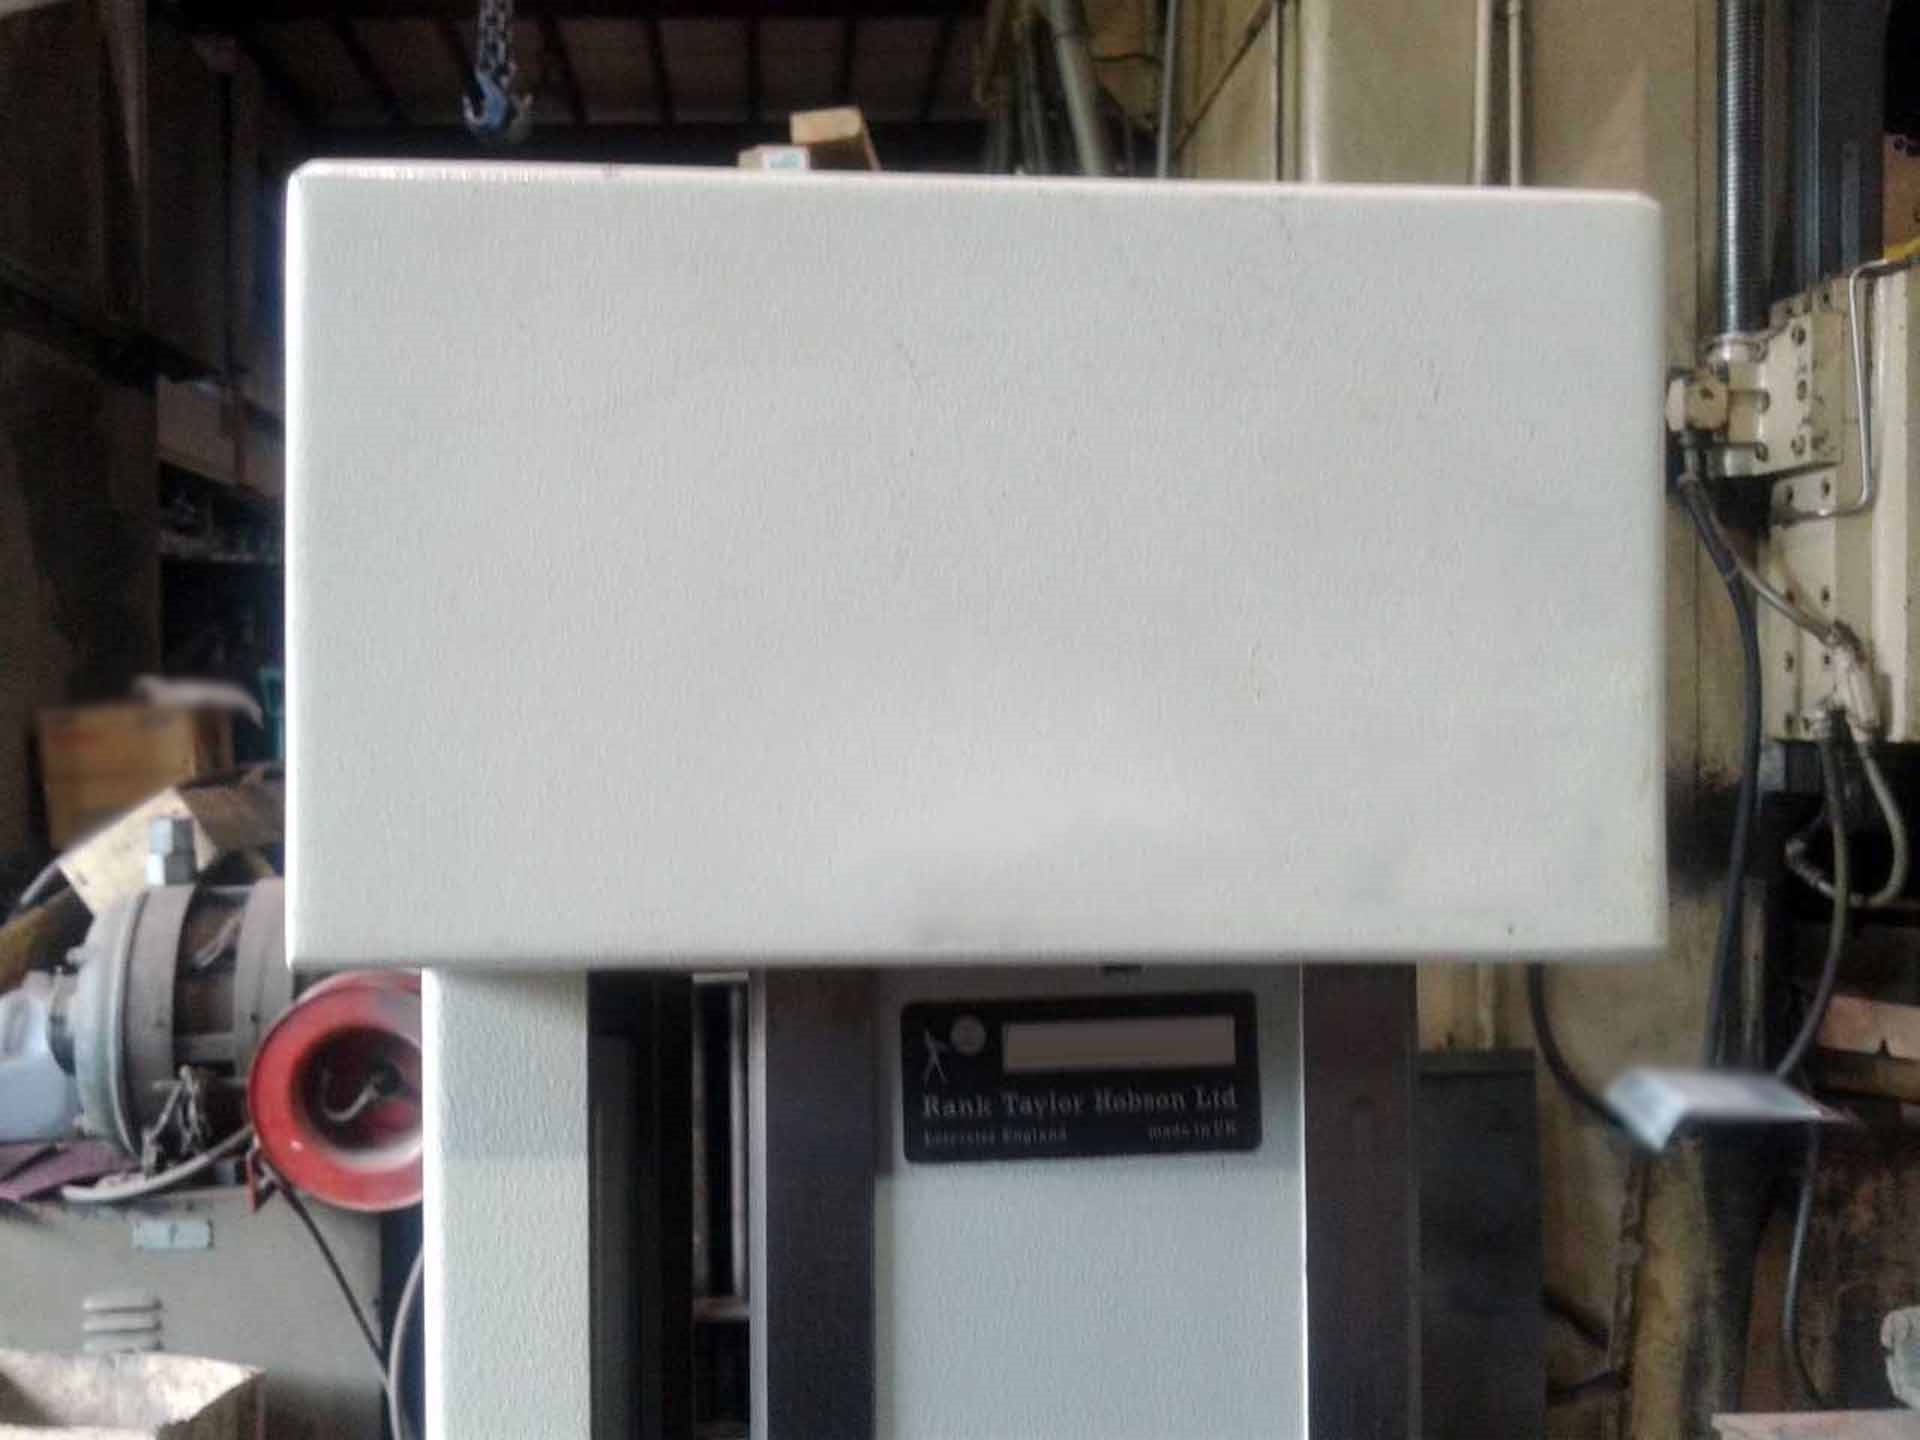

ID: 9238187
Roundness tester
Axial error: 0.1 μm (3.9 μin)
Range of centering: ±0.03 in ±0.75 mm
Speed of rotation: 6 RPM nominal, clockwise
Height above worktable: 1.5 μin + 0.8 μin/inch
Motorized radial arm length: 5.90 in 150.00 mm
Range of leveling: ±2.60 m rad ±8.60 arc minutes
Concentric load within: 0.04 μm + 0.0003 μm/mm
Gauge standard stylus arm length: 3.94 in 100.00 mm
Worktable & spindle worktable diameter: 7.48 in 190.00 mm
Positional control uncertainty per single move ±0.004 in ±100.00 μm
Vertical straightness module measurement length: 11.80 in 300.00 mm.
TAYLOR HOBSON TalyRond 250 is a benchtop laboratory equipment used to perform a variety of precision measurements on a variety of materials. It is an accurate and versatile measuring instrument, capable of high accuracy measurements of diameters, pitches, formeded elements, and profiles with a resolution of 0.5 micron. TalyRond 250 is an electronic profile projector, equipped with a closed loop digital output for efficient storage and transfer of data. TAYLOR HOBSON TalyRond 250 benchtop measuring instrument comprises of a main unit and optical components that are designed for accurate measurements. The main unit is equipped with a digital display, which provides information on the dimensions being measured, enabling the user to accurately read and understand the result. TalyRond 250 is designed to inspect cylindrical, conical, and other forms of simple geometries. For example, the main unit is composed of a rotary table, a digital readout, a C axis with a high speed stepper motor, and a precision spindle system. The mechanical design of TAYLOR HOBSON TalyRond 250 includes integrated optical components. The optical system is composed of an objective lens, a field lens, and a projector tube. The objective lens is used to magnify the image of the inspected object, while the field lens is responsible for the formation of the imaging cone. The projector tube is used to focus and project the image onto the measuring table. TalyRond 250 uses a use a diamond stylus to measure the texture and form of rotating parts. TAYLOR HOBSON TalyRond 250 is equipped with a host of features and is capable of processing profile data from a variety of sizes, from 0.1mm to 50mm and from 4 mm to 12mm in diameter. The instrument also uses programmed automatic measuring cycles to enable the user to measure multiple identical sets of parts. TalyRond 250 is equipped with a motorized, PLC-controlled measuring process, providing users with an expanded set of measuring capabilities for complex geometrical components. In summary, TAYLOR HOBSON TalyRond 250 is a precision instrument designed for accurate, high accuracy measurements of diameters, pitches, formed elements and profiles. Its main unit is composed of a digital readout and a C axis, while the optical system is composed of a objective lens, a field lens, and a projector tube. The instrument also features a motorized, PLC-controlled measuring process and a use a diamond stylus to measure the texture and form of rotating parts.
There are no reviews yet

